I was gifted an Amazon voucher a few weeks ago and decided that this was a sign from heaven that I really ought to have a serious look at the yellow-y cataracted headlights. I’d previously had good results from a Quixx branded headlight resto kit so decided to go with what I know and get another. For £13 delivered it was at the cheaper end of the scale, but the last one worked so YOLO etc.
It pitched up the other evening and I’ve been fortunate that I have had a few consecutive evenings free so decided to set to. The kit comes with 3 grades of wet n dry paper (2000, 3000 and 5000), a tiny sponge thing, some plastic polish and some UV sealant. The idea is that you wrap the small rectangles of wet n dry round the sponge and carefully sand down the lens of the headlight to cut through the yellow sun-damaged layer, refining the abrasion until you then use the plastic polish as a final treatment, then apply the UV sealant and you’re done.
Except my headlights were a bit beyond what the poor old 2k grit would sort!
I decided that it was probably a better idea to go big, and hit the headlights up with some more abrasive grades of wet n dry first. I began at 400 grit which was highly effective at removing the top layer of plastic, then working up through 800 & 1200 grit before switching to the supplied 2000, 3000 and 5000 grades. I spent a solid hour on the passenger side one last evening, getting a pretty good final result, before realising that some in-between pics might be good.
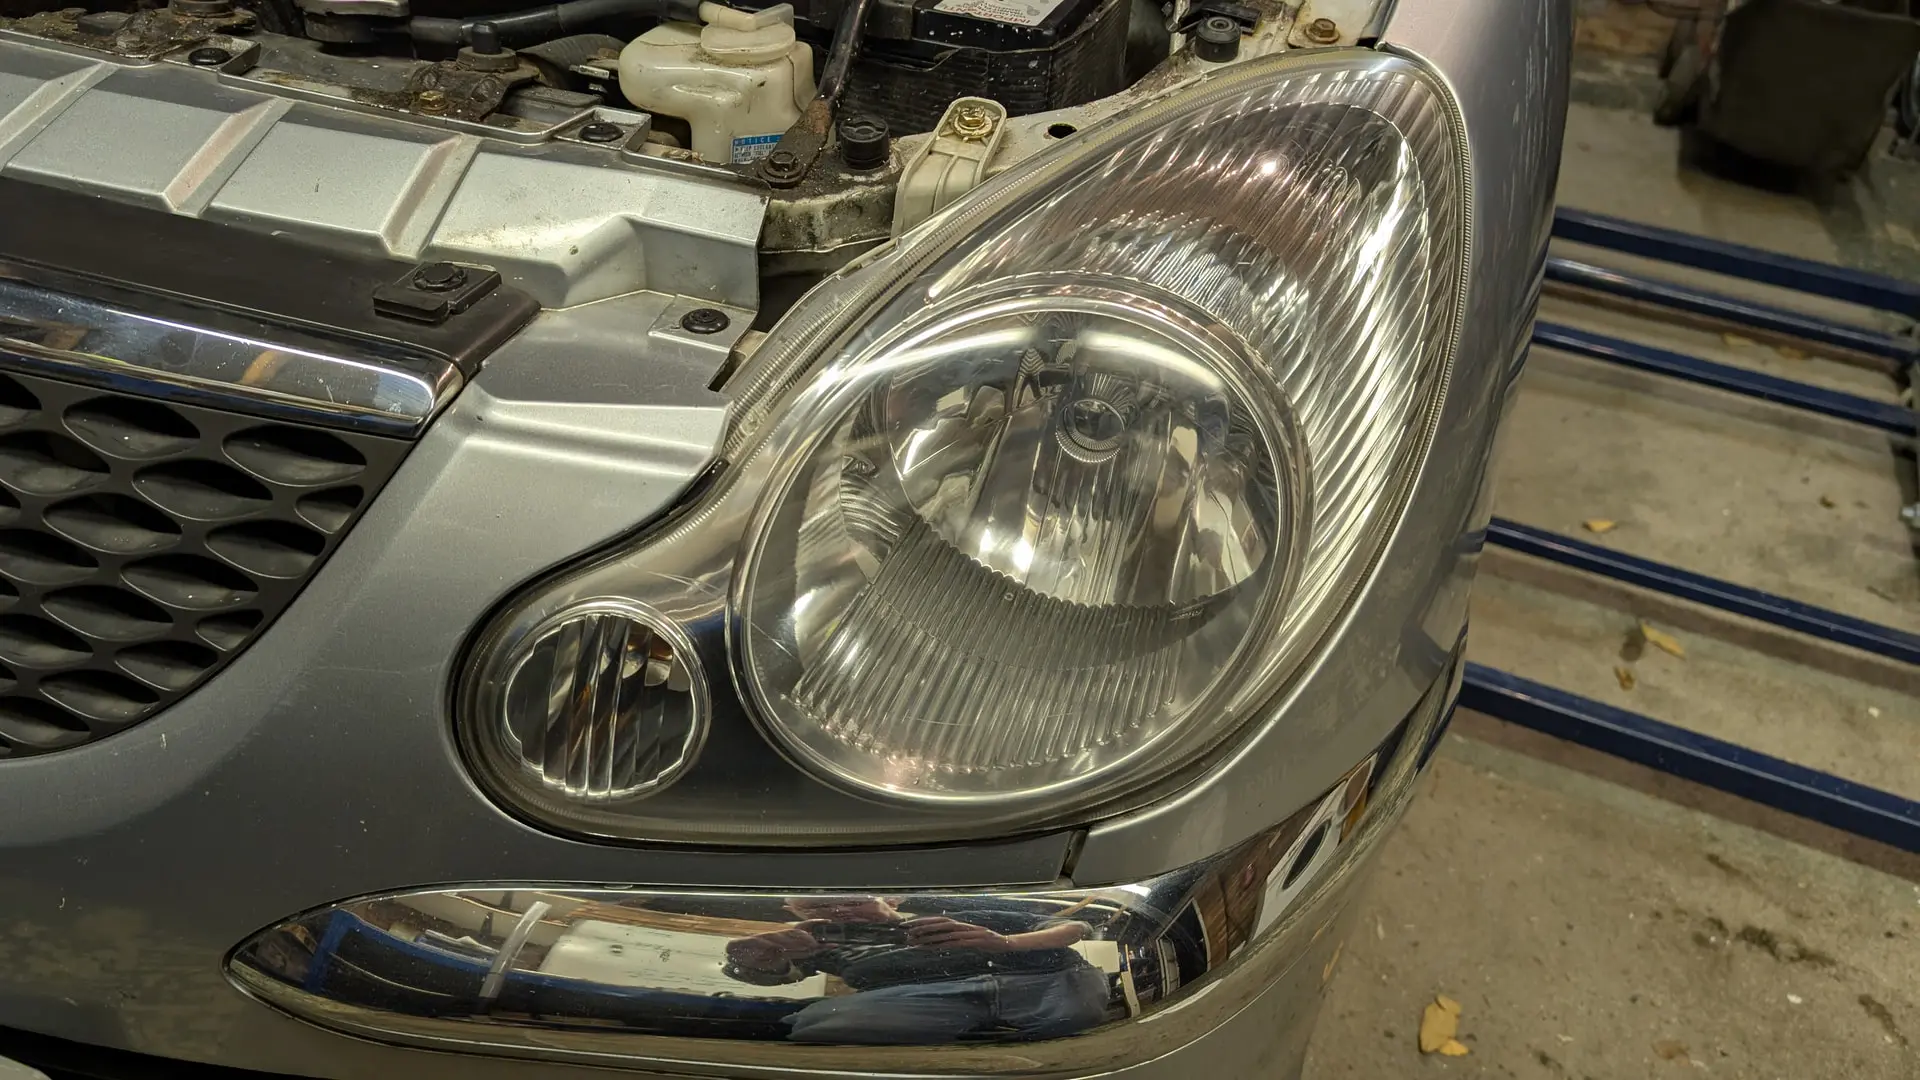
and a comparison with the as-yet-untreated driver side
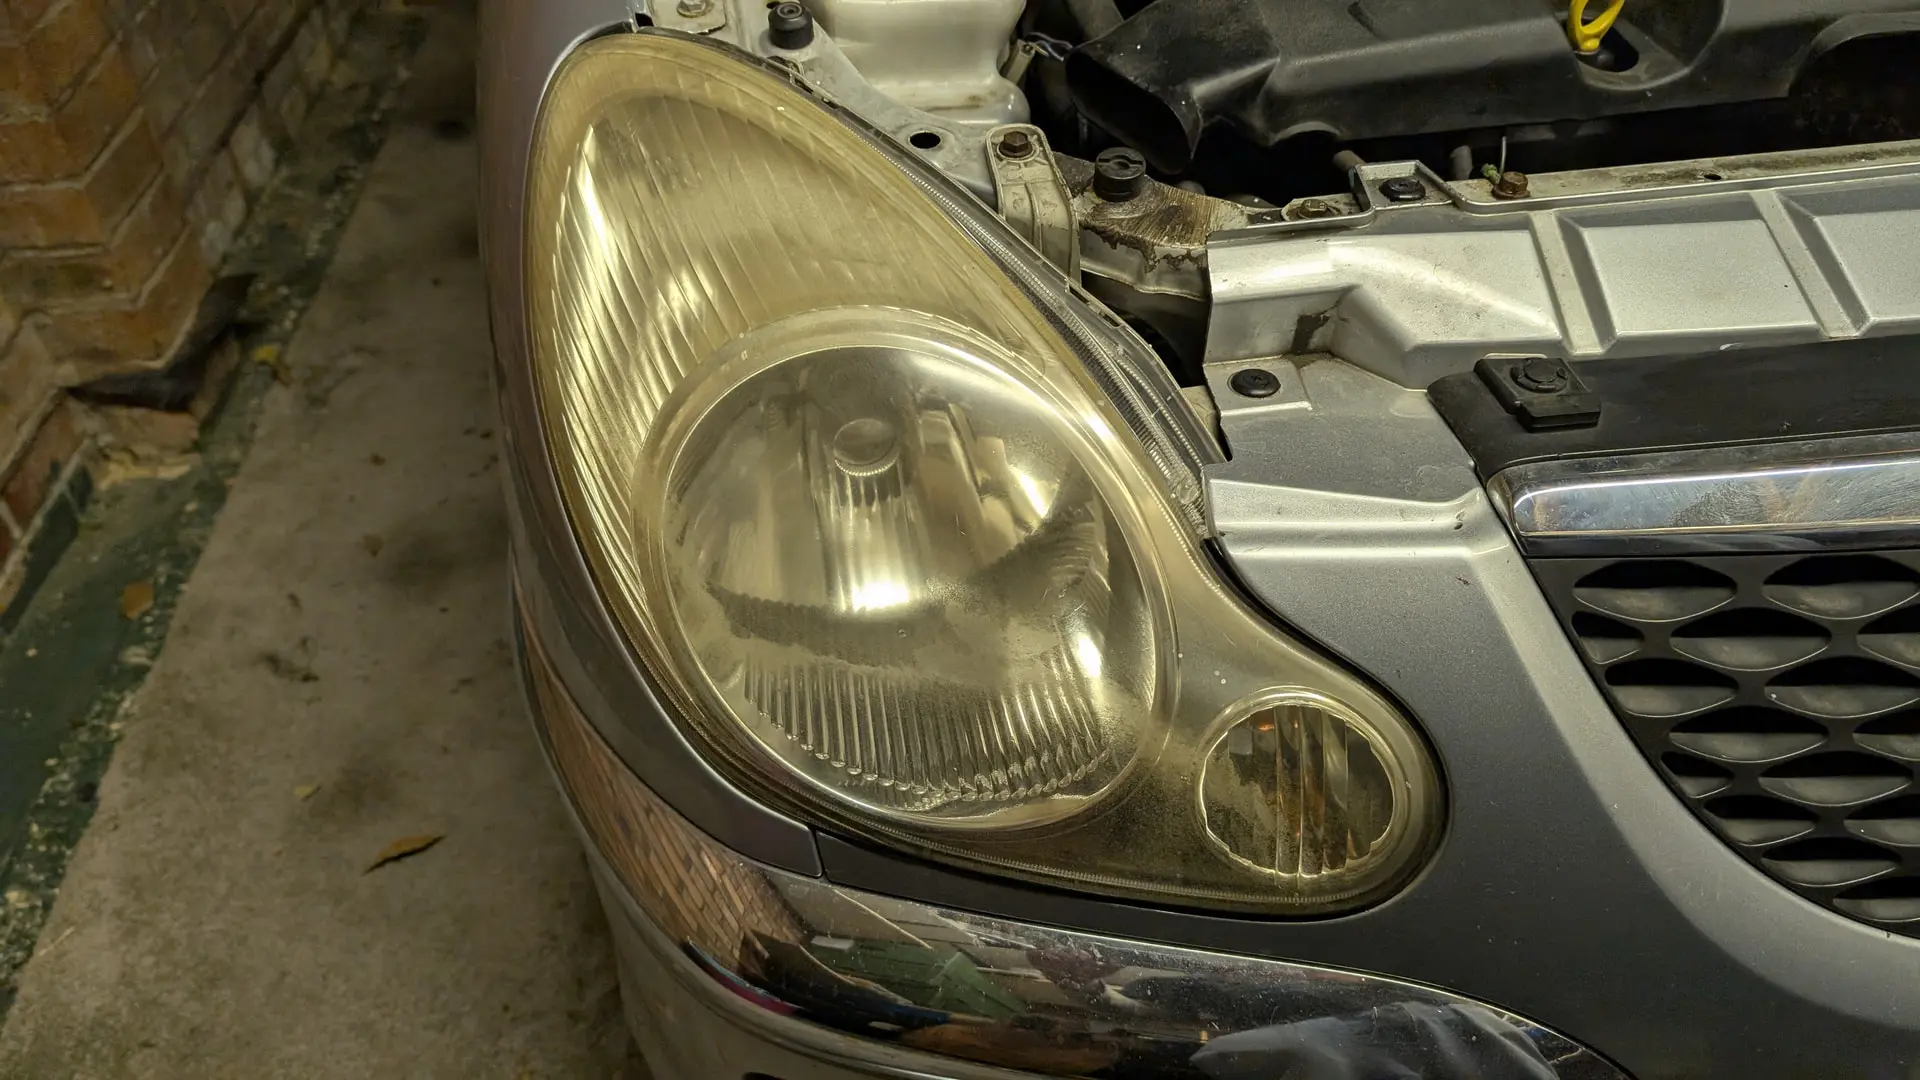
and a shot with them both for good measure
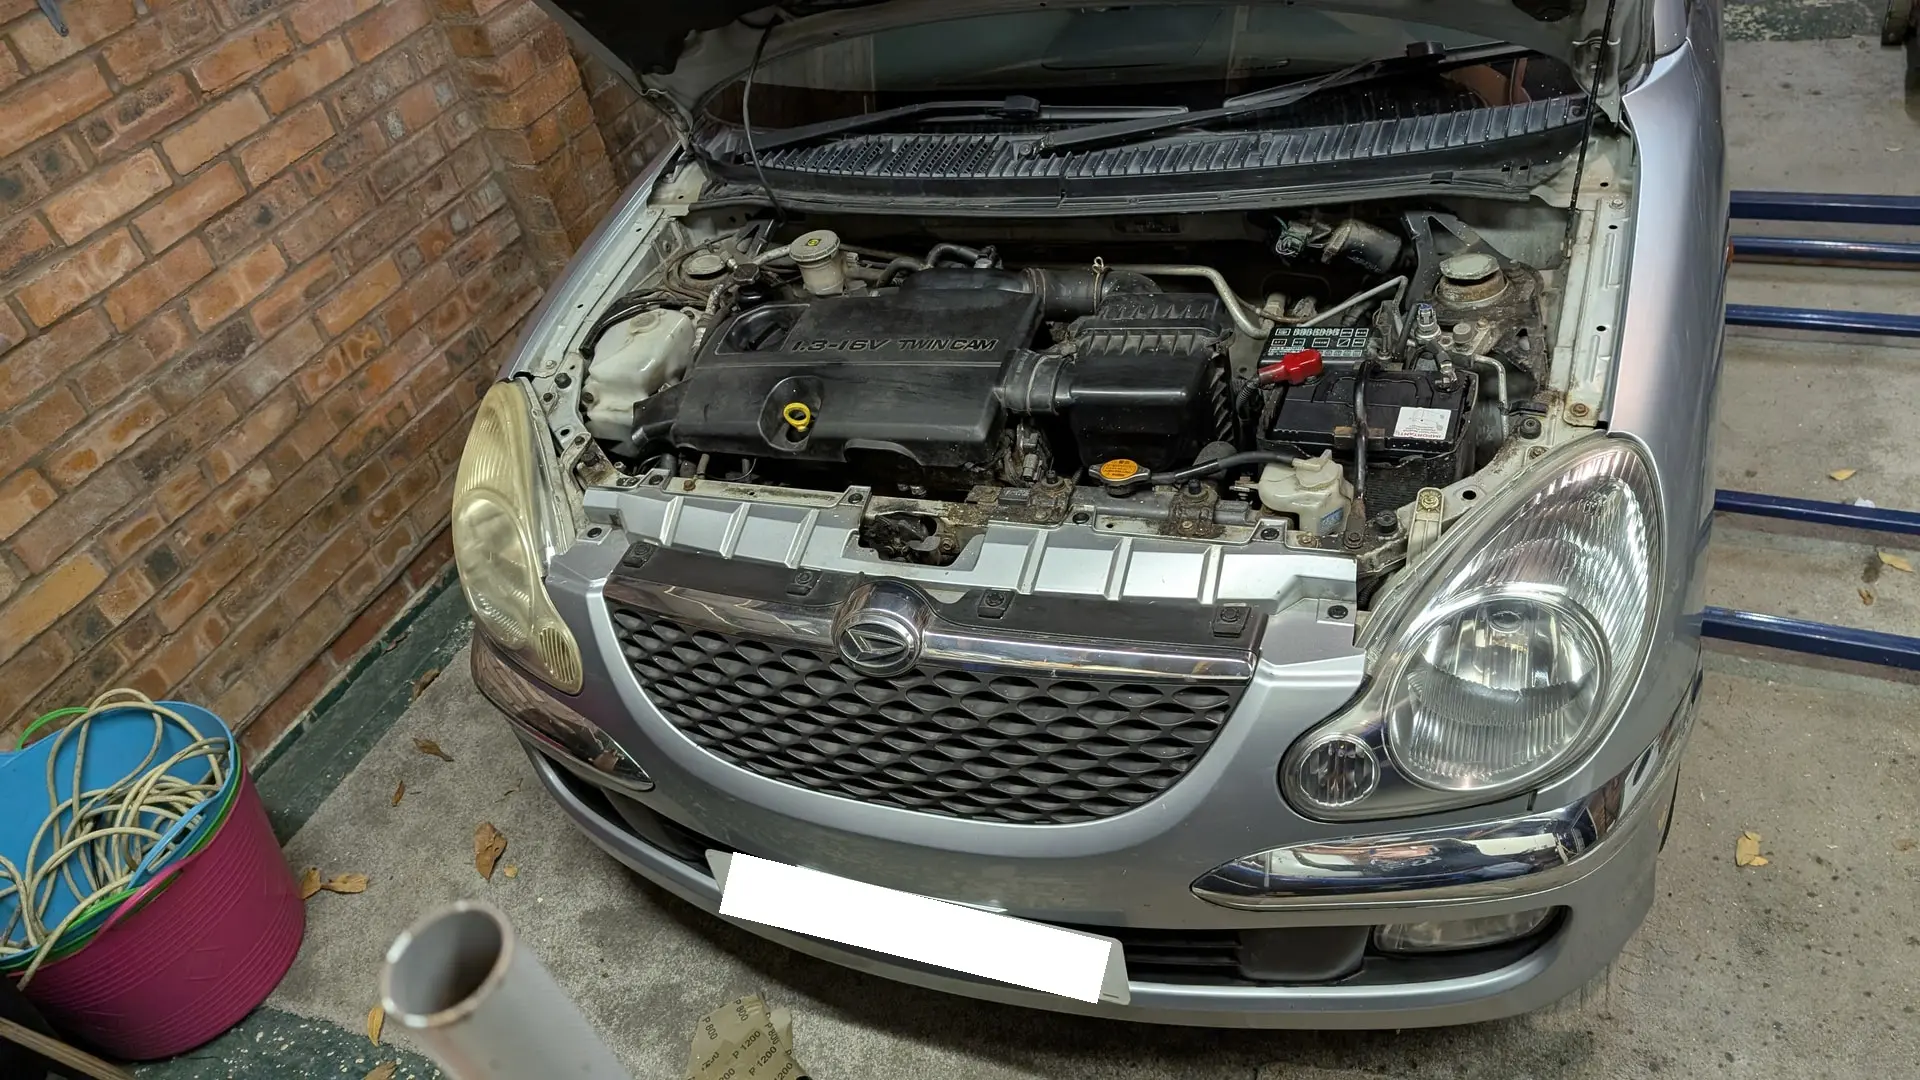
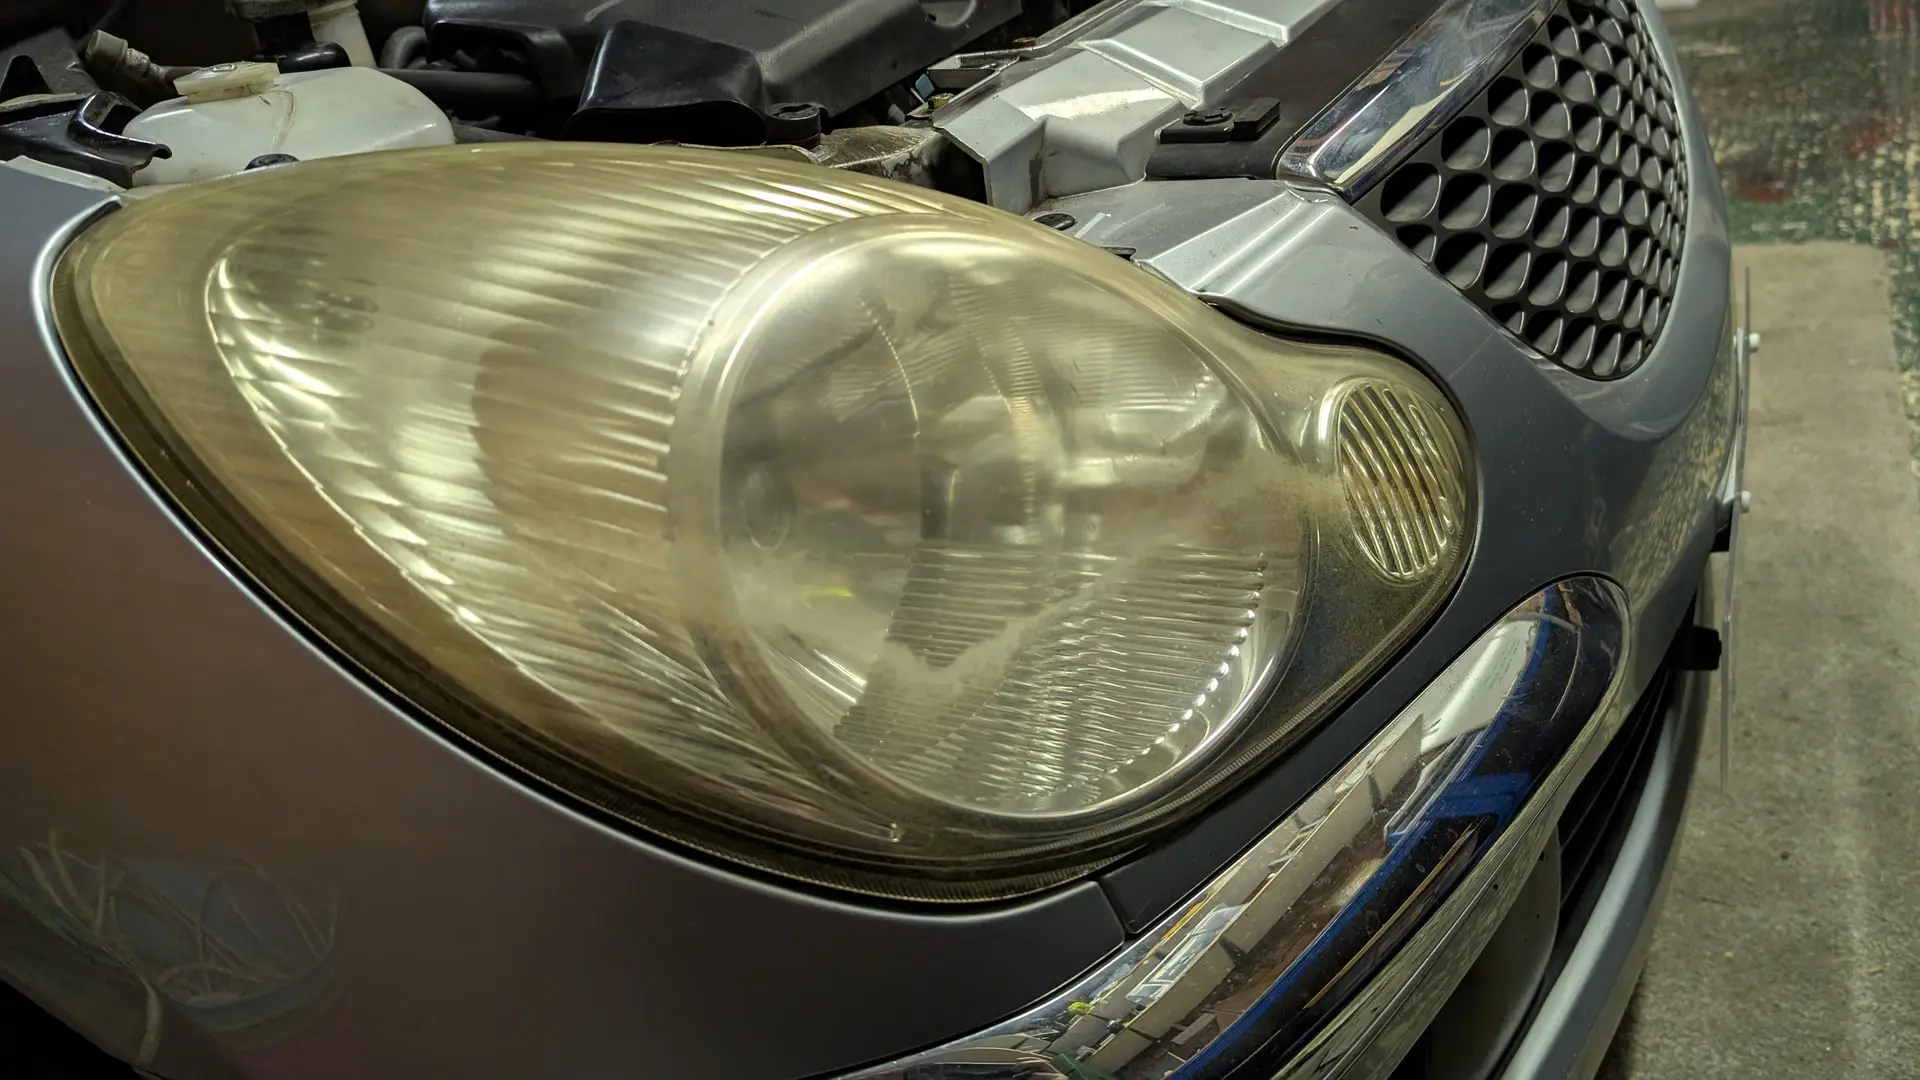
As you can see, the drivers side was very much degraded and yellowed. The passenger side one had actually faired worse, having been scratched pretty deeply when I was refitting the engine a few years ago after replacing the clutch and I was pleased that the wet n dry had removed all but the very worst of these.
So now for a more step-by-step guide to the drivers side one. This is what i started with:
I started with the 400 grit, wetted (and regularly re-dipped) which is very aggressive and takes a lot of the yellowed top layer off very quickly. I was doing this by hand to ensure I didn’t do too much damage to the lens, but be aware it gives you t-rex arms really fast! After 20 minutes of careful sanding you get this, which looks a lot like you have totally FUBAR’d the headlight!
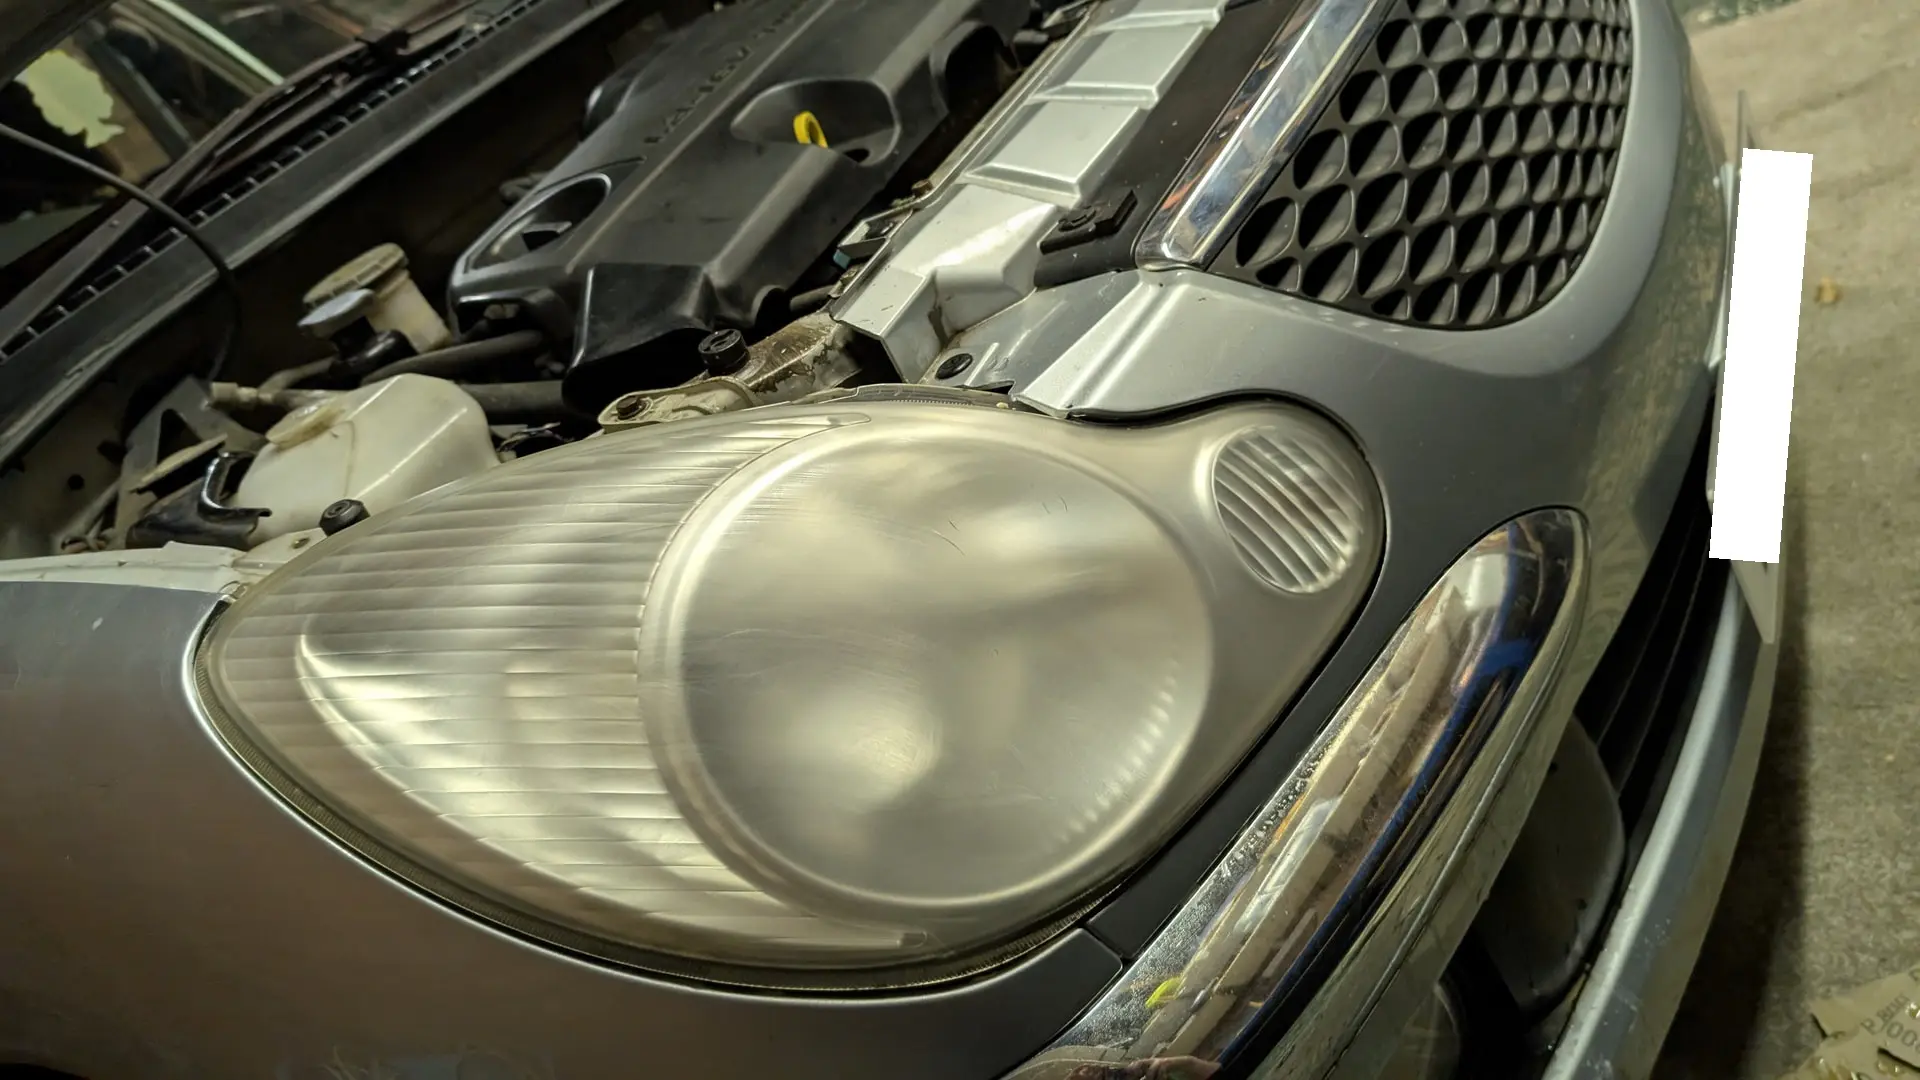
but as you can see, much less yellow already, You know you’re doing a good job as the water mixes with the abraded off plastic to make foul yellow gunge which you have to regularly wipe away with a cloth. Next up, another pass but with 800 grit, then 1200 grit to get to this
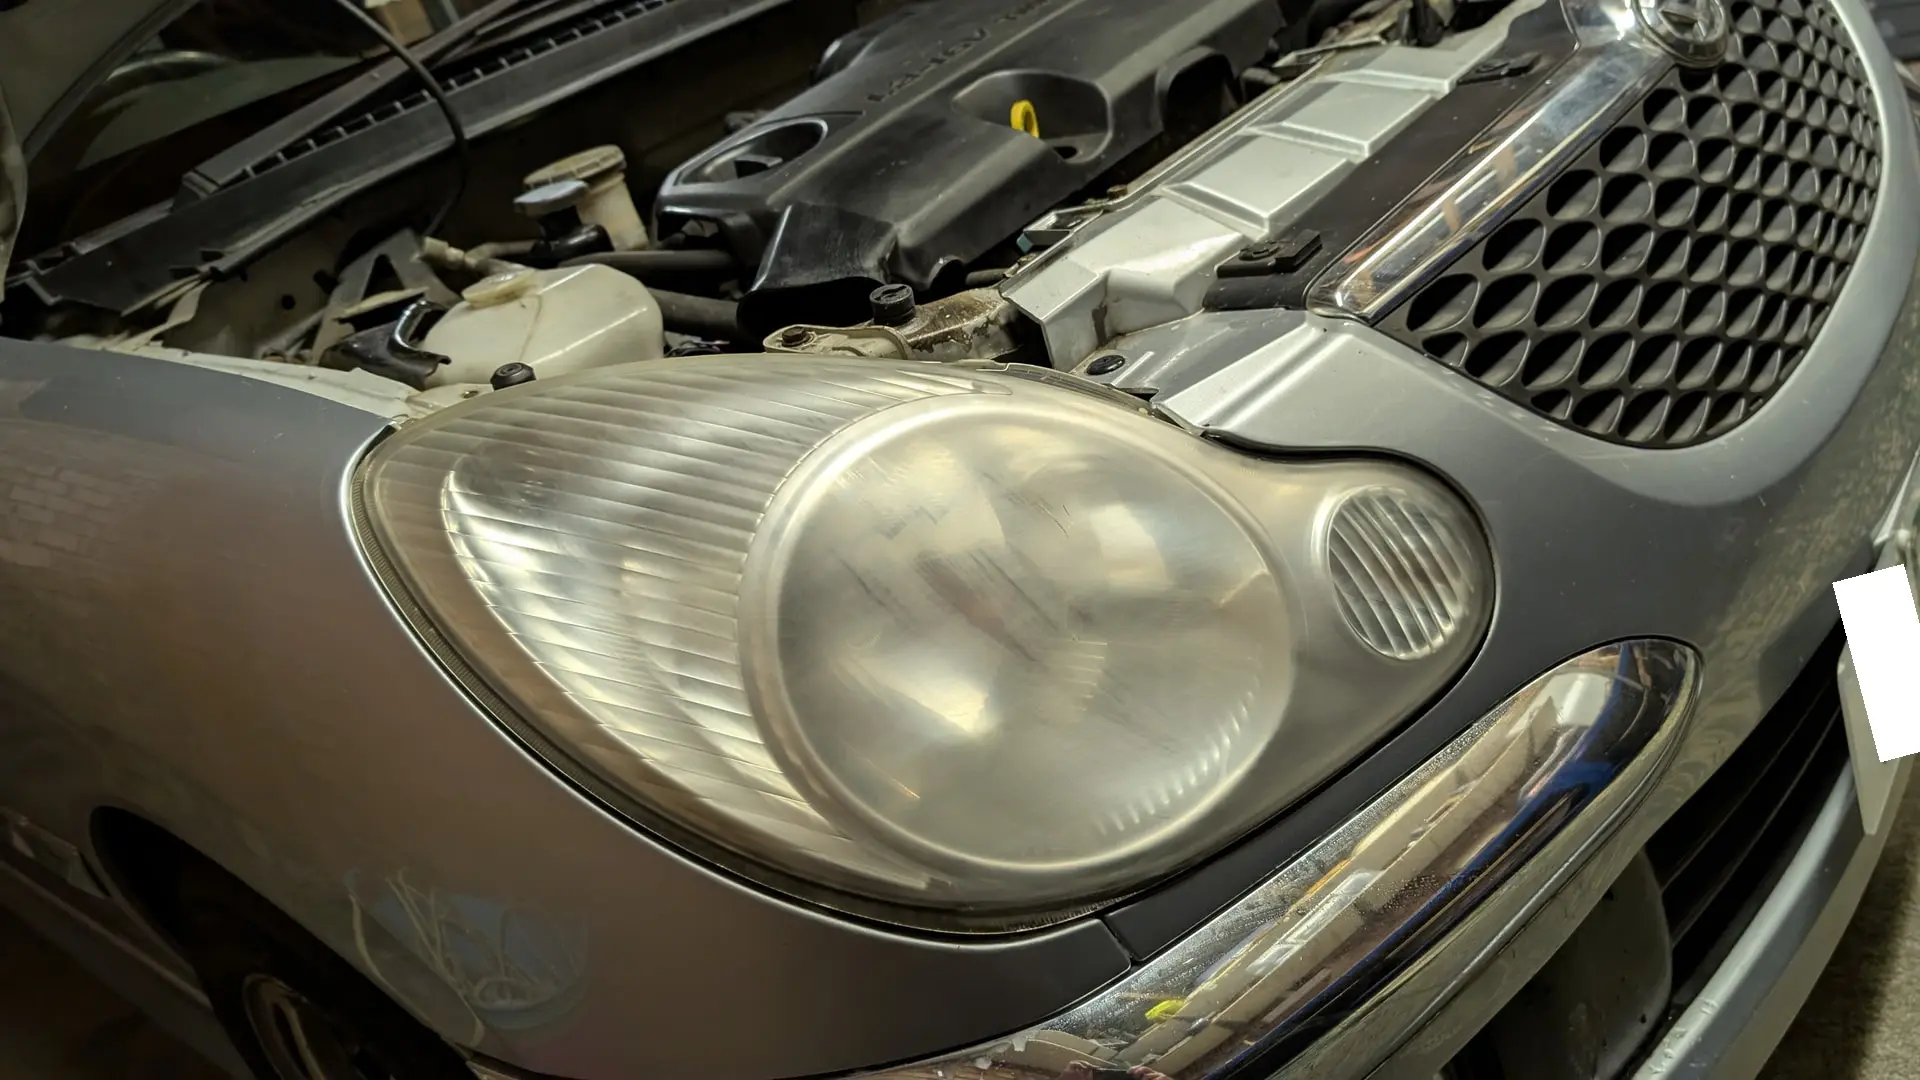
Getting better… The headlight is noticably less yellow now but still very scratched from the wet n dry. I worked in swirls generally, some people suggest alternating with vertical and horizontal passes. I then repeated with 2000, 3000 and 5000 grit. Each time a lot of gunky watery skud gets created which you wipe away with old cloth, with the scratches becoming finer and finer. Once you get to the 3000 grit, with water applied you start to see the results of your work and its feels less like you have utterly destroyed a set of previously-servicable headlight lenses! Then a final wipe down and application of the plastic polish, you can do this by hand, but by this point my feeble office-worker hands were hurting so I opted to use a wetted foam pad in a slow-speed electric hand drill, working all over the lens using both forward and reverse settings to try and limit swirling as much as possible. And this is the end result
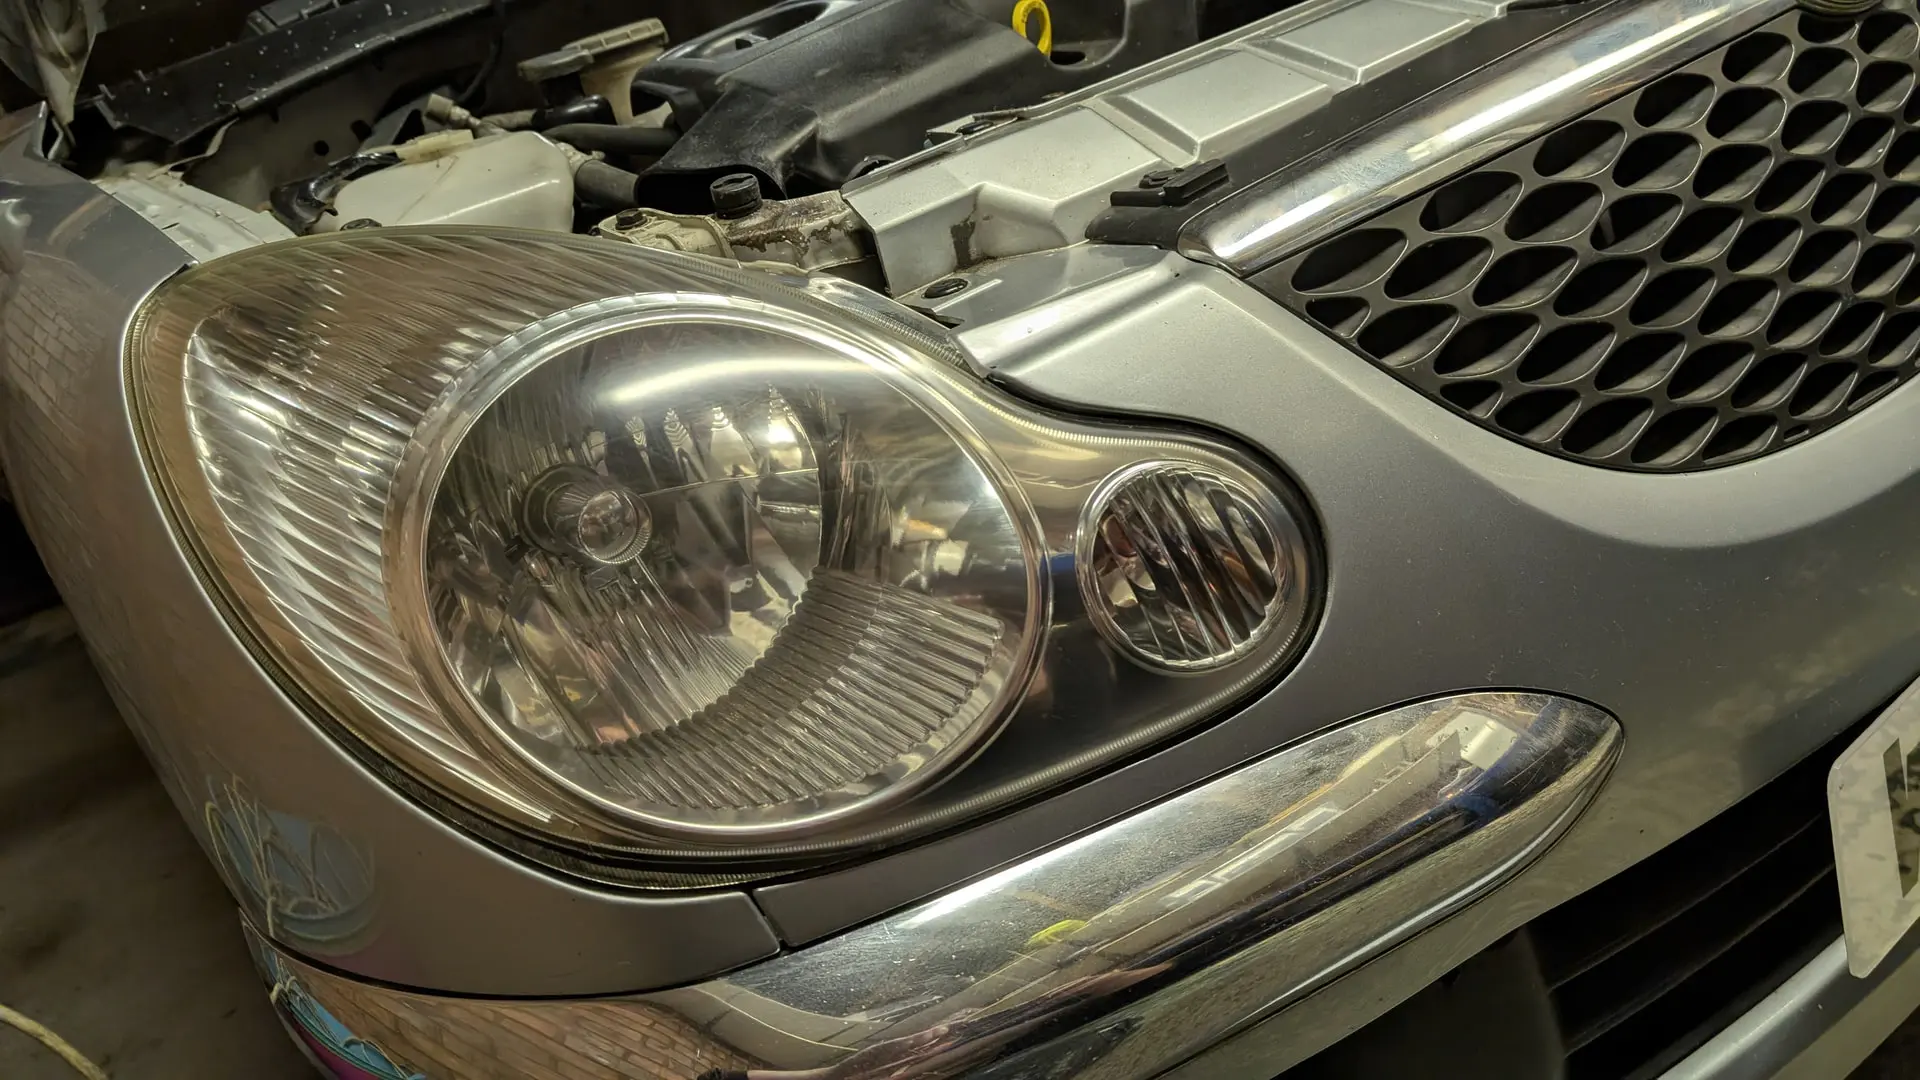
Quite a bit of an improvement! I then applied the UV sealer which comes in a mini toothpaste tube, and again used the electric drill to work it in.
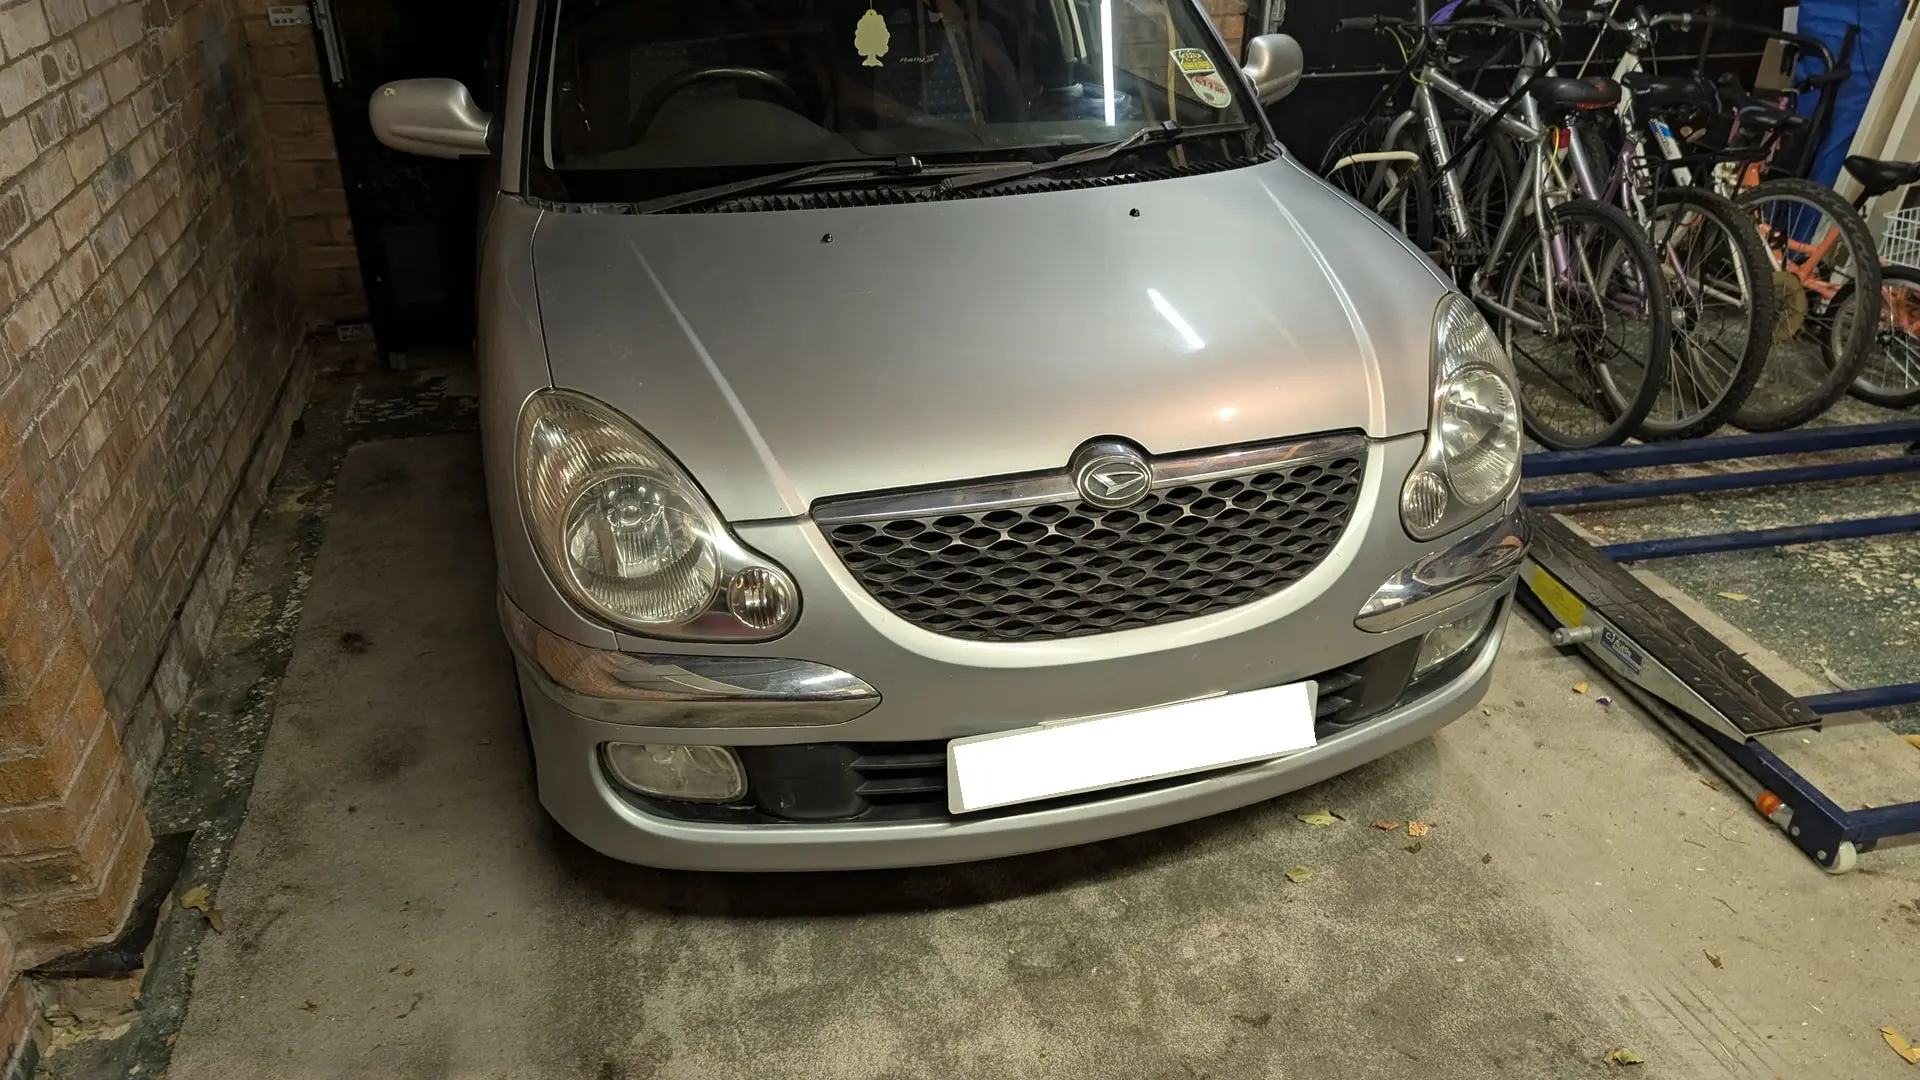
and ta-DAH, the finished result. This was 2 hours over two nights to bring them back to how they look now and my arms ache! They’re not perfect but they are a great deal better than before, much less yellowed and with almost all of the scratches worked out of the lenses now. There is a little bit of yellowing on the outer edges where the plastic is thicker and the angles awkward to work with but much better than they used to be. As the car spends most of its time indoors now I hope they’ll last better, but as far as I am aware this is the first treatment these have had in 25 years of being on the road so some degradation is to be expected. They certainly seem far less prone to damage than modern BMW MINI’s for example?
Anyway, for anyone with similar issues I can fully recommend the Quixx kit, but its worth also getting a few sheets of more abrasive wet n dry paper unless you really enjoy spending hours removing material with 2000 grit paper and have more stamina than I do!