
I've (finally) ordered a new speaker grille for the passenger door to finally replace the one that broke when I was replacing the anti-bounce spring in the passenger door look about 3 years ago.
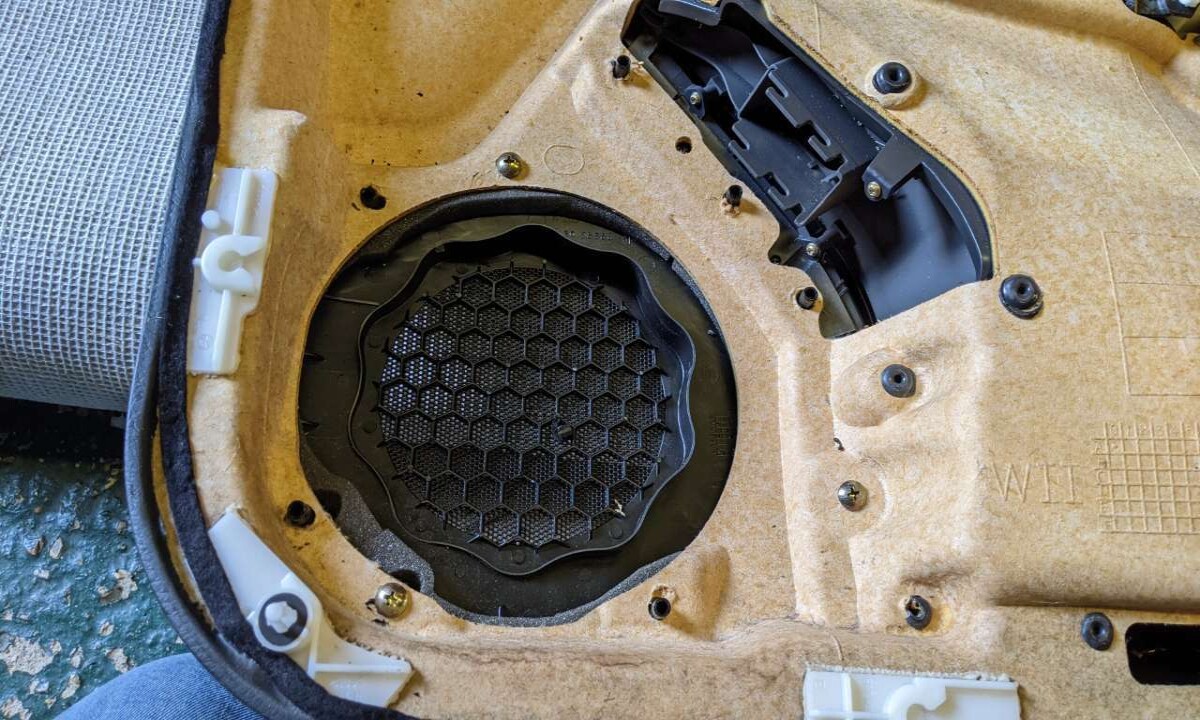
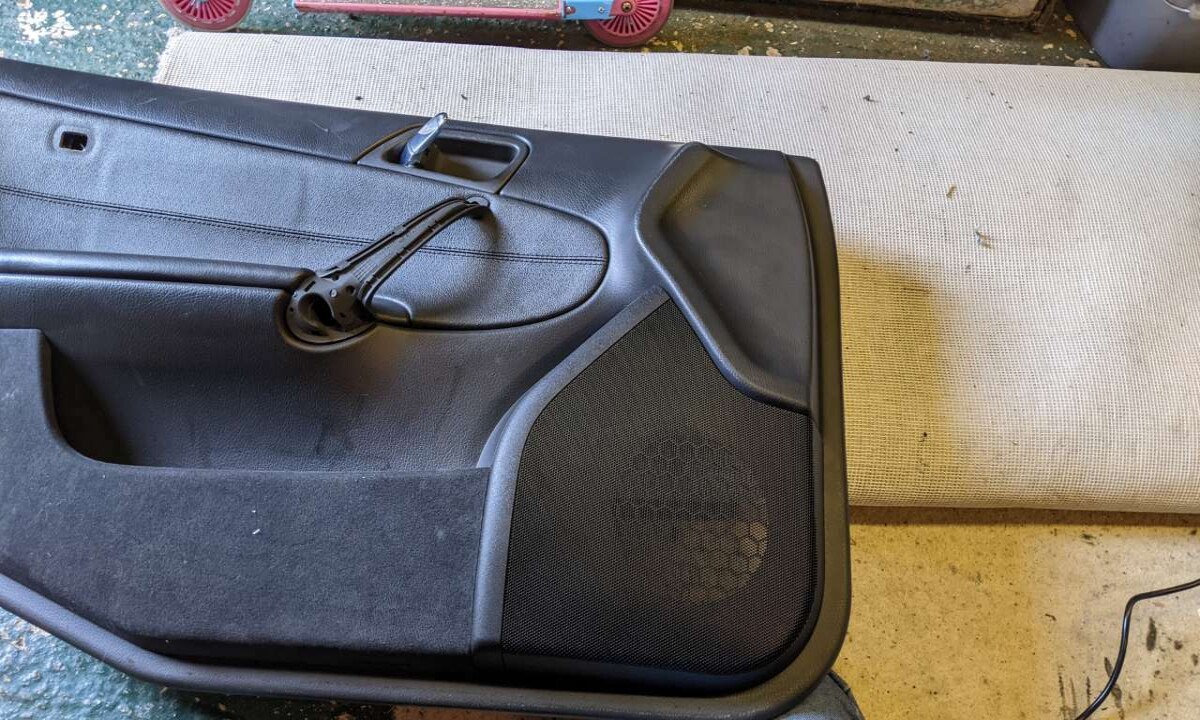
The speaker grille arrove tonight so since it was sunny I set to replacing it. On the W203 the grille is sort of heat-moulded to the doorcard so its a bit of a kerfuffle to replace. This is what we have to begin with, I pushed the doorcard on with my hand on the grille about 3 years ago and cracked it, most of the cracks were carefully pushed back flat, but there was a bit that snapped right off and wasn't going back together, so its looked like this ever since

Hardly befitting of such an executive* motor, I think you'll agree?
First things first it was time to remove the doorcard. Its held on with a few torx screws and some plastic poppers which came off without a fuss, exposing the inner door
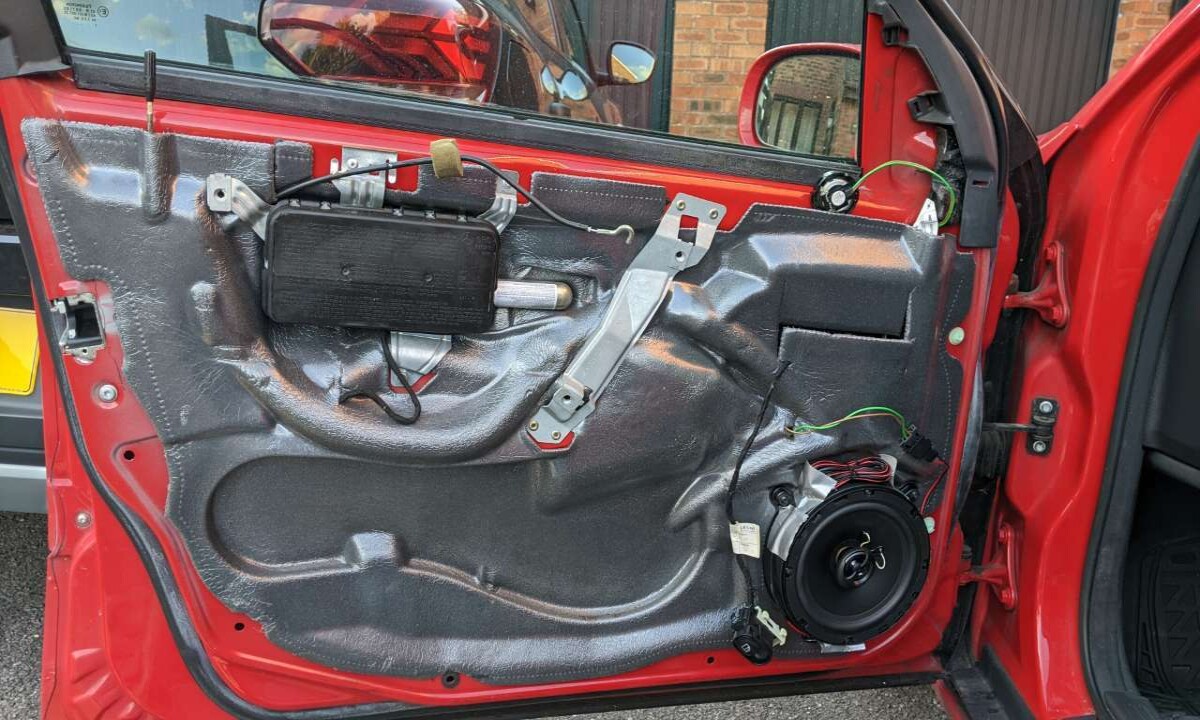
Note terrifying airbag/facebomb... I unhooked the door release cable and electric window switch. With the doorcard off I could see what was what
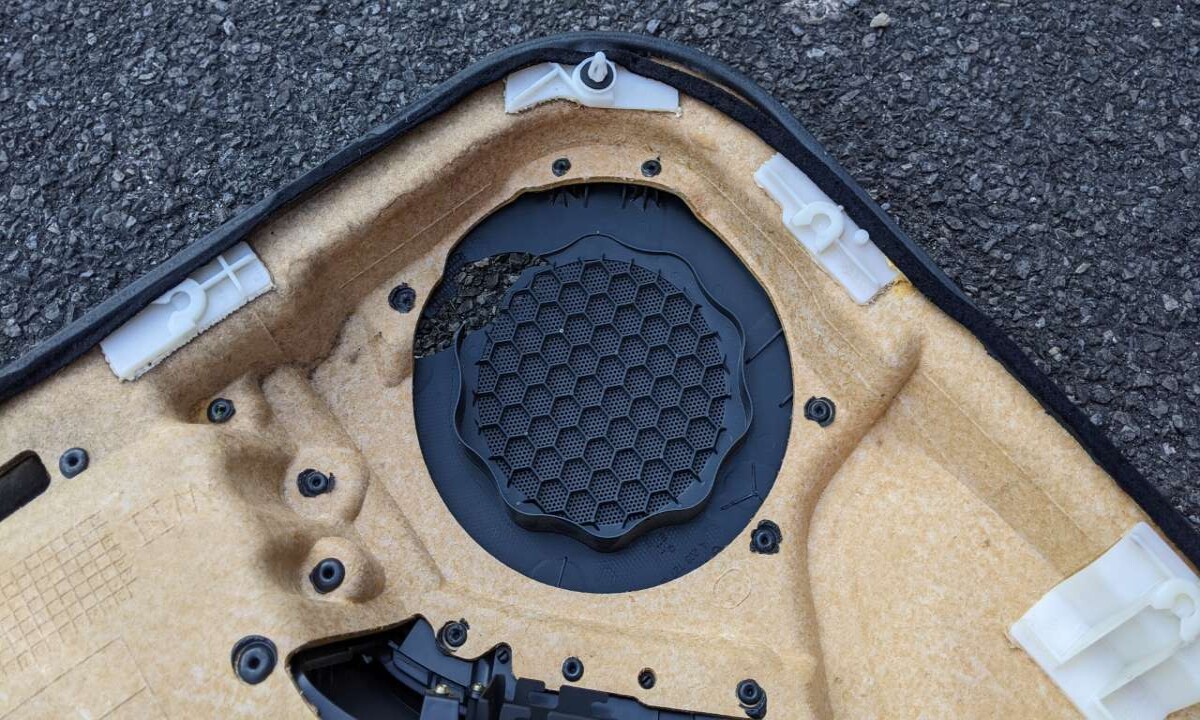
You can sort of see the melted-on 'legs' of the speaker grille section here. They poke through the doorcard then were sort of melted and squashed into mushroom shapes to keep it in situ. I have zero clue why they didn't just use half a dozen dome-head screws. But there.
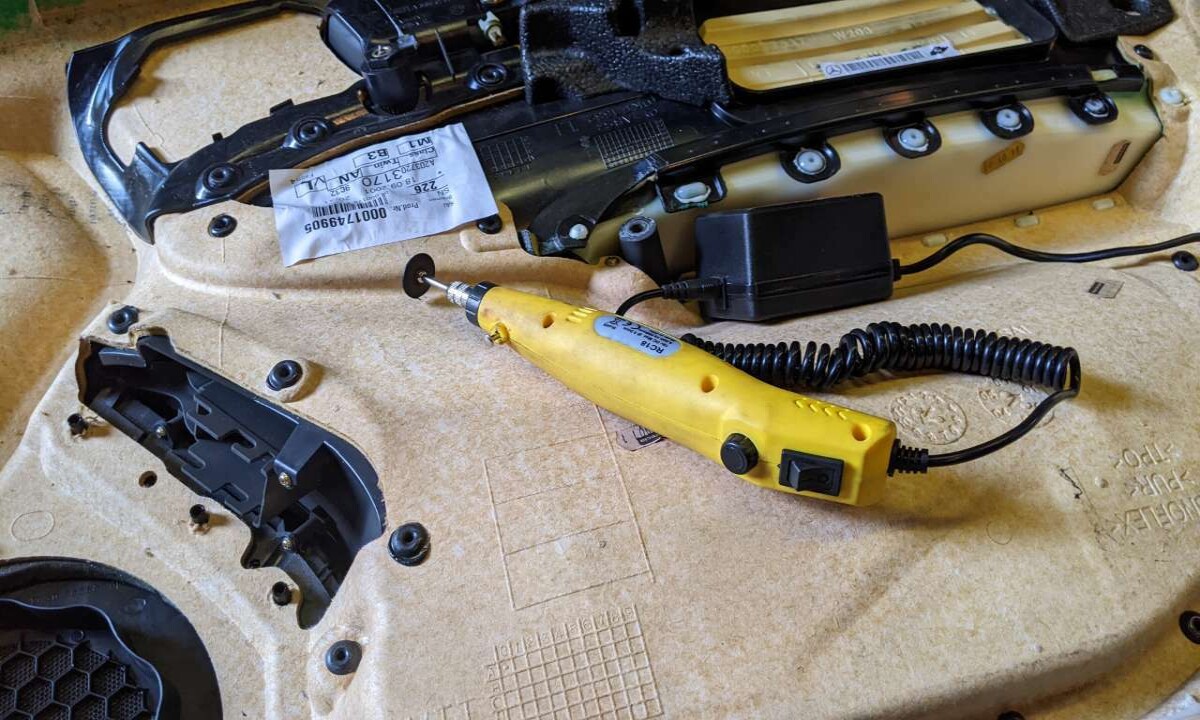
I took the doorcard into the garage and laid it on some old carpet. I used a drill to drill off the mushroomed heads and a stanley knife to trim the leftovers off then pushed the speaker bit through

so far so good. Next I trial-fitted the new grille by poking the 'legs' through the doorcard holes to make sure it all lined up, which happily it did. The new grille was £25, less than half the price of every other seller on ebay so I was quite keen not to damage it. For those with good memories, the car cost me £19 in roffle tickets, so this represents a significant investment!
Since I know better* than the DaimlerChrysler corporation I had decided that I'd use some dome-headed screws to hold the grille on, at least partially. I used my knock-off dremel to cut down three of the 'legs' so they were more of less flat with the inner door card stuff
and then screwed the stubby dome-head screws into the hollow legs of the grille
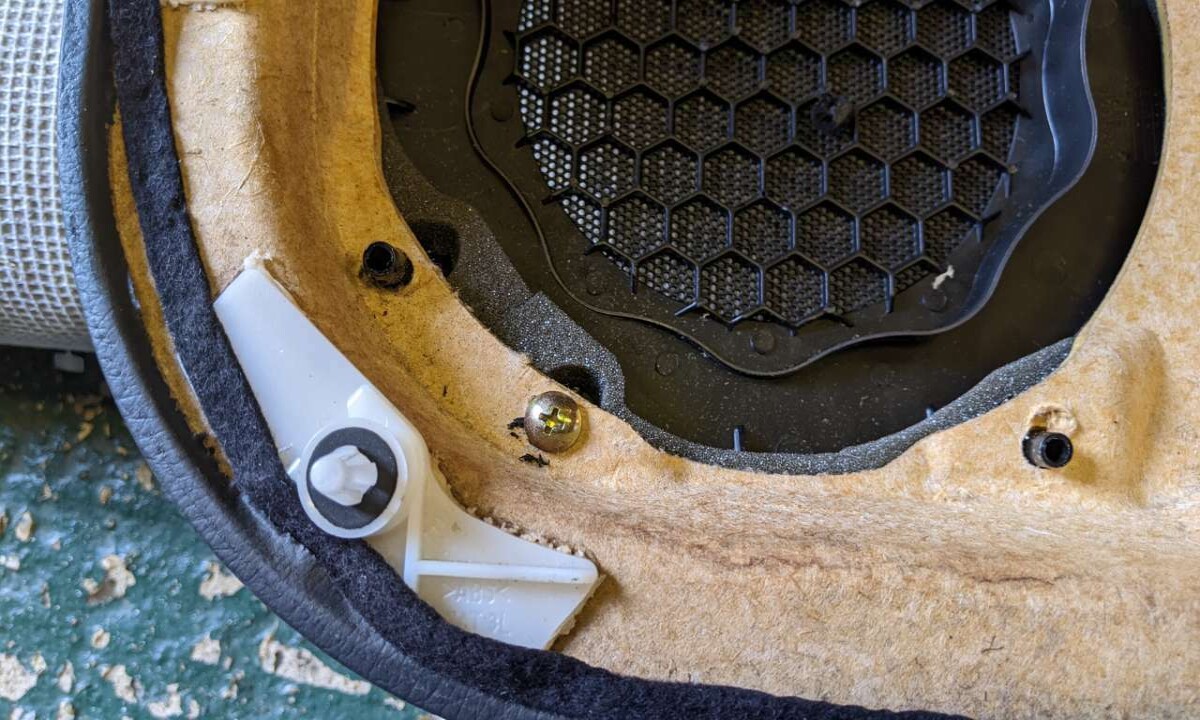
You can see /\ /\ /\ here that the legs stick through quite far normally, hence needing to cut them down a bit.
I did this with three of the legs around the perimeter to hold it in place before phase 2. I only had 3 suitable screws or I'd have done it with all 9 legs TBH. It worked well.

Next it was onto stage 2 - melty melty
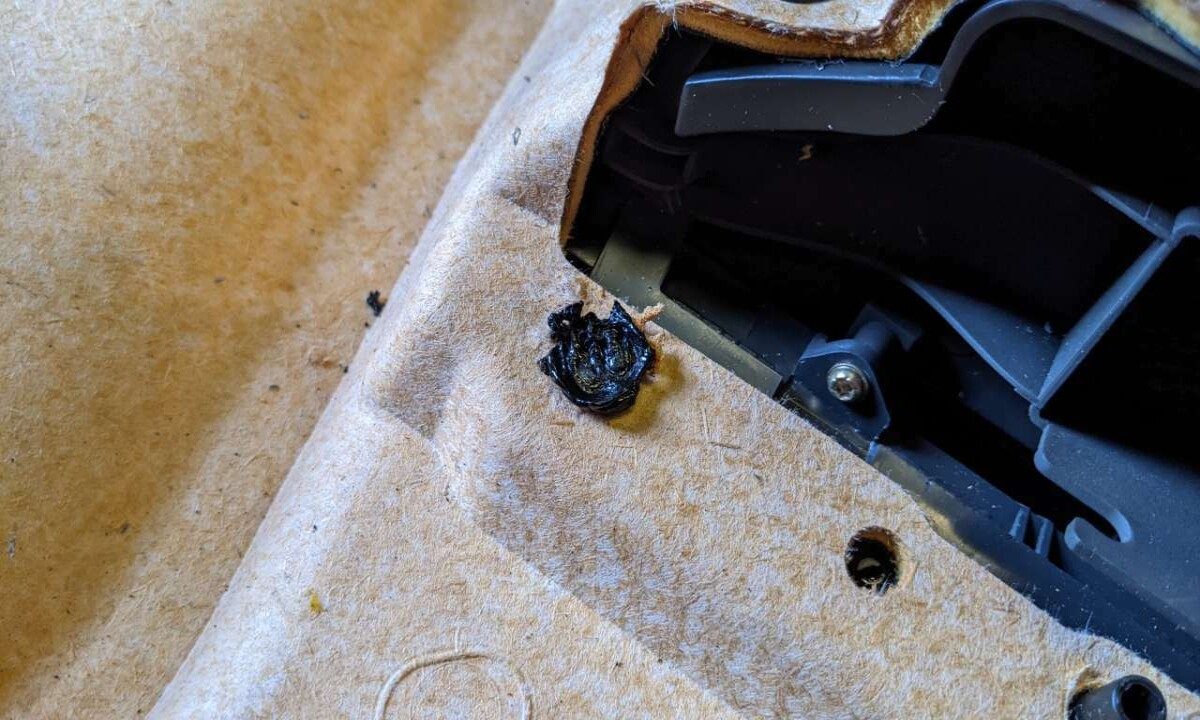
I used my crappy silverline soldering iron to melt down the legs one at a time, then used a dome-ended bit of metal to squash the melted plastic flat, like the original mouldings, only worse
This was #1 which was definitely could be better material, but it worked. I slowly made my way around the remaining 7 legs, melting them then mushrooming out the ends. Having the grille held in place with the screws was a godsend at this point
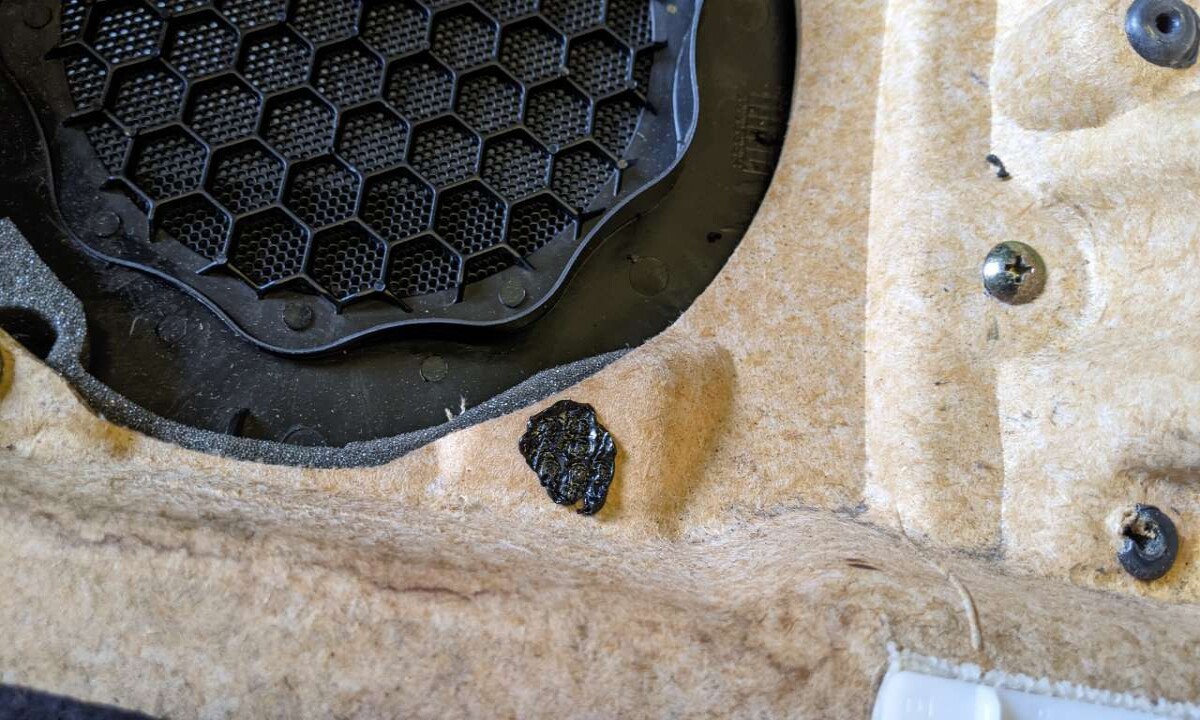
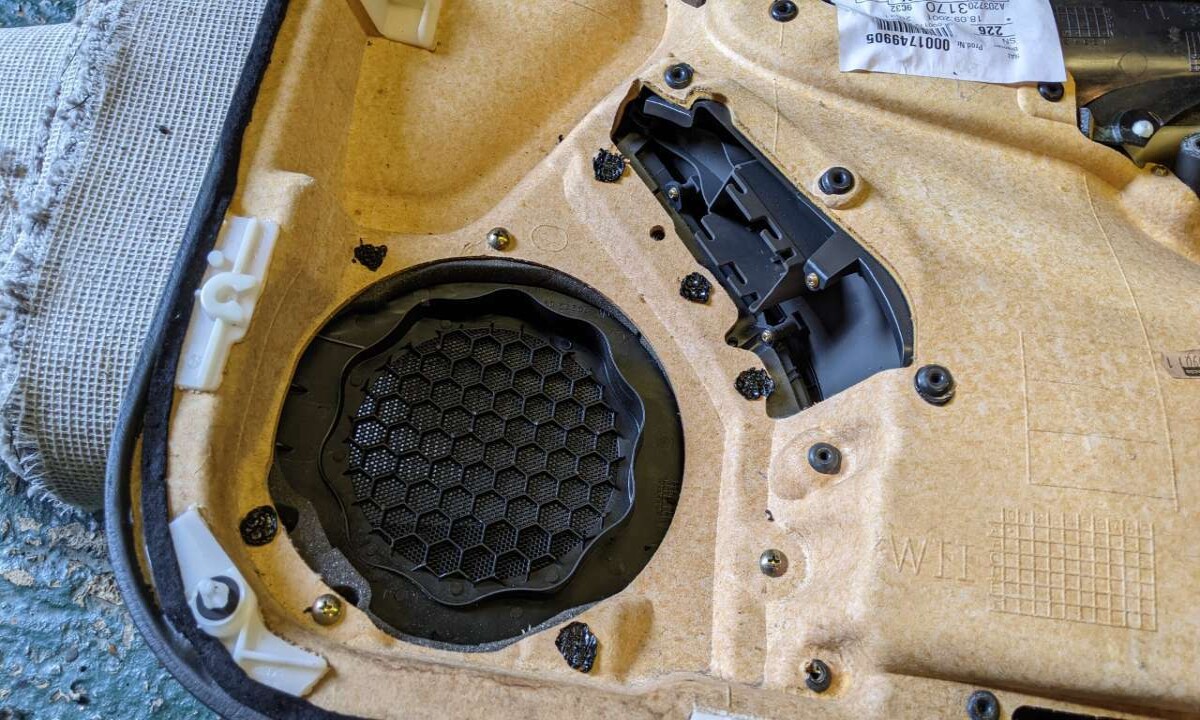
My handiwork improved as I went, some of the later ones were almost tidy
with them all melted and mushroomed I flipped the door card over and was pretty pleased with my handiwork
Thats not a bad job is it? The fit isn't perfect but isn't bad, and looks miles better than the cracked original. I fitted the poppers back onto the inside of the door card and held them in place by wrapping a small amount of butyl tape round them to stop them falling out as I fitted the door card up to the door. I refitted the bowden cable to the interior handle, refitted the electric window switch, hooked the tweeter out of the door and hung the door card from the top rail of the door frame, then pushed the popper on one at a time. The attached the tiny grille that the tweeter lives behind on the other side of the glass to the wing mirror and...
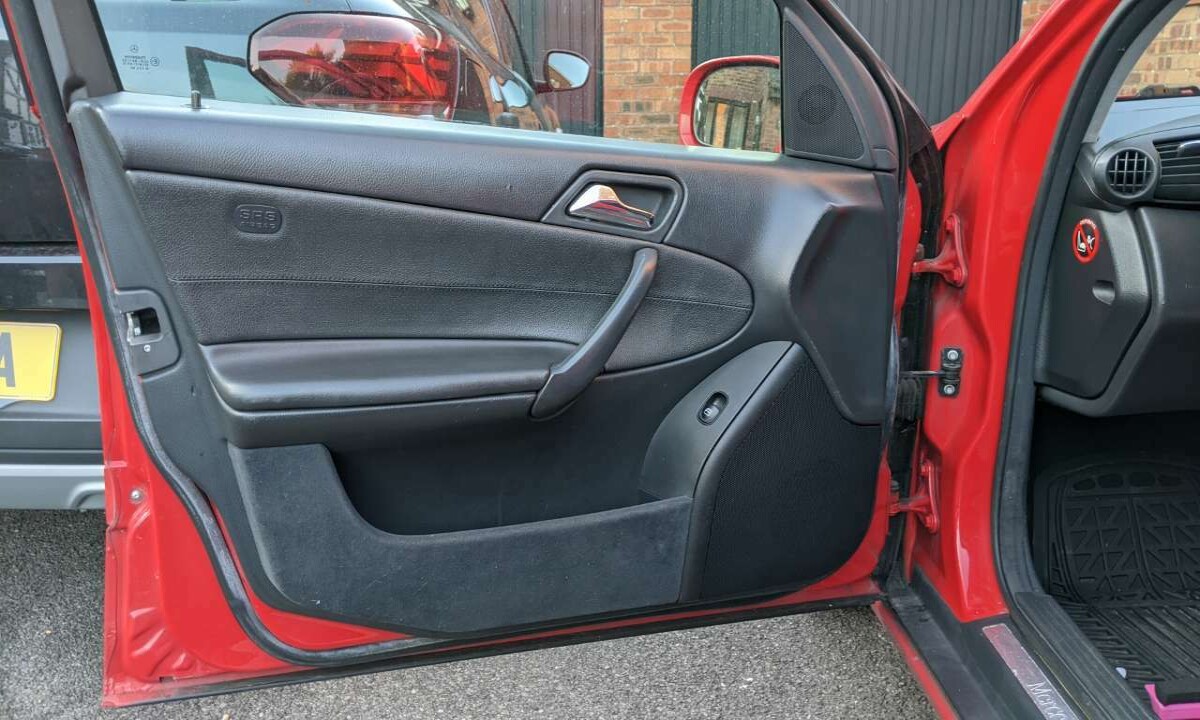
Thats a bit better isn't it?
But thats not all. Because I'm me, I decided I'd roll the car forward into its usual parking spot. I'd left it hanging out a bit because I needed the door wide open to do this. So I merrily jumped in the drivers seat and released the handbrake, reasoning it was silly to start the car to move 6 feet forwards...
Oh what a silly billy I am.
The car did indeed roll, but because the W203 doesn't have a conventional handbrake, instead using a 4th pedal to the left of the clutch, you need to be on the ball with things like this. I rolled forward and stood on the handbrake pedal, which rewarded me by detaching the rubber pedal cover from the pedal and my foot slipped off. I desperately shoved at the footbrake, but it did nothing because the engine was off, so I rolled straight into the garage door pillar

AAAAAAAAAAAAAARRRRRRRRRRRRRRRRGHHHH!
I cleaned the brick dust out with a wire brush and squirted some of the last of the magmarot paint on and its come out ok. The bumper took it and is solid plastic so its only a scrape but jesus wept. This is exactly why I can't have nice things. The wing and the bumper are a bit misaligned now but there we go.

Invisible* repair I think you'll all agree. I'll slap some more red on tomorrow and then some lacquer and it'll blend in with the other scuffs and lacquer peel.
I think what this is telling me is that I have basically reached Wabi-Sabi equilibrium with the car. I've been fixing things as I go, and improved the car. However its now at that very specific tipping point where it must NOT be improved further. Its peak 'shabby chic' if you will, and now if I fix something, something else must immediately break to maintain the fundamental 'zen' of the car.
Car, you have spoken, and I have listened.
Thanks for tuning in as ever.


